Mid Century Furniture Restoration
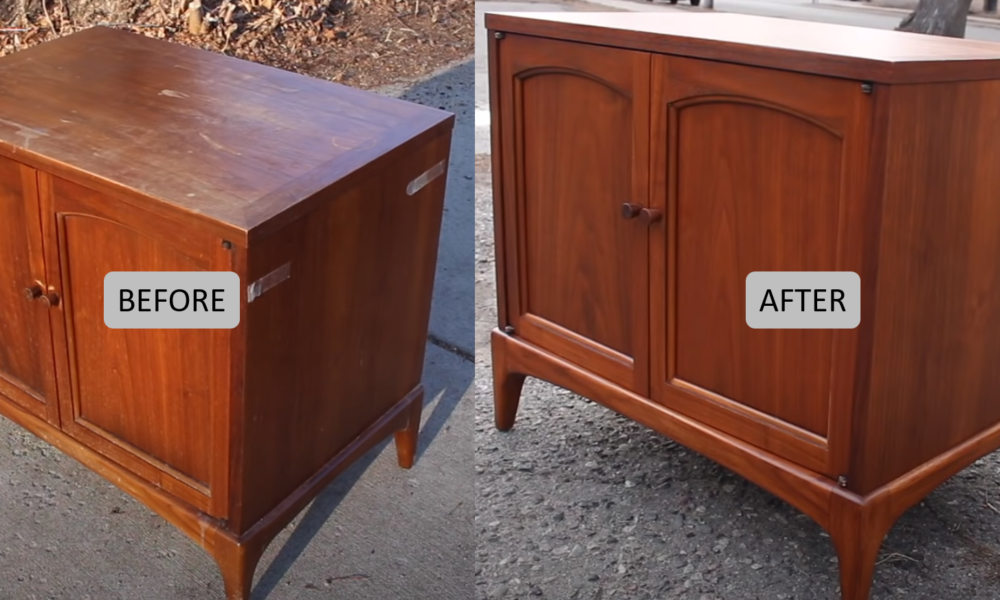
Have you ever thought about giving an old piece of furniture a complete makeover? Restoring furniture can be a great hobby or even a side hustle if you are good and know what types of furniture to look for. We are especially excited to share this gem we found on YouTube from Dashner Design & Restoration. Here at Sell It All 4U, there is certainly no shortage of furniture with a little wear and tear.
This post should serve as a guide for you to conquer your own journey at restoring furniture that you find at an estate sale, thrift shop, or garage sale.
- Watch the video tutorial
- Follow the step-by-step guide
- Make sure you have the right tools for the job
Video Tutorial
Step-by-Step Guide
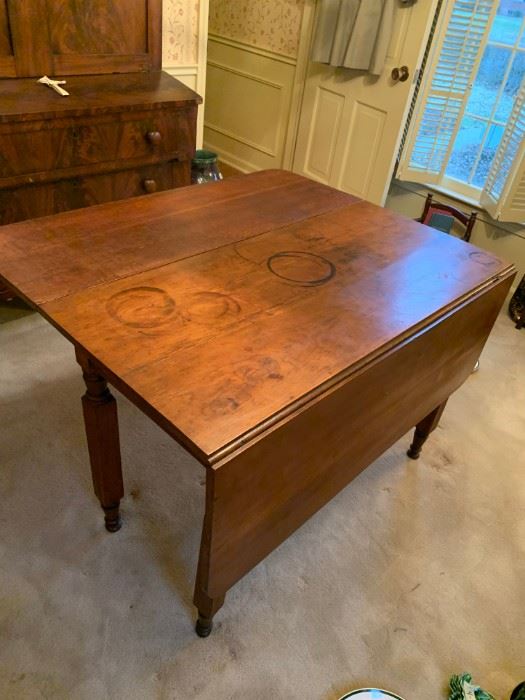
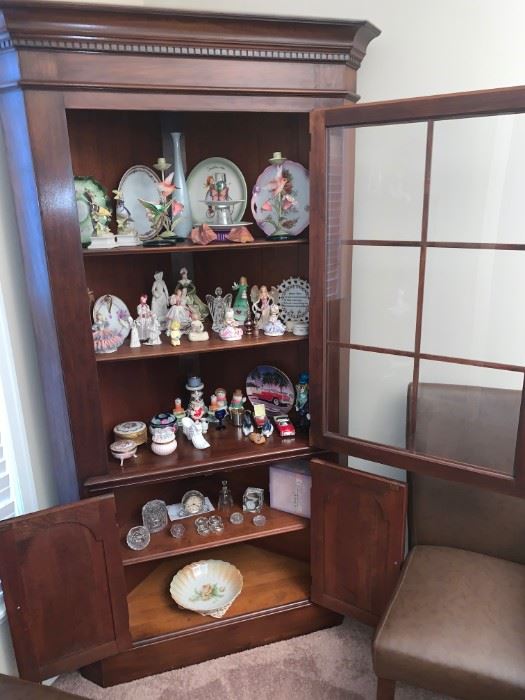
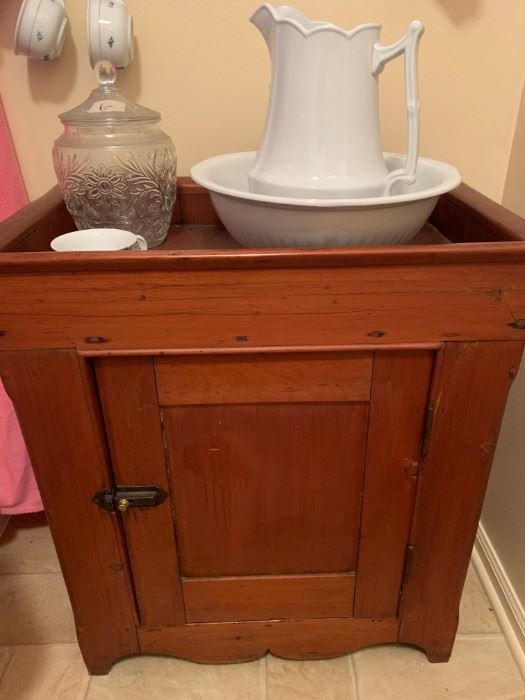
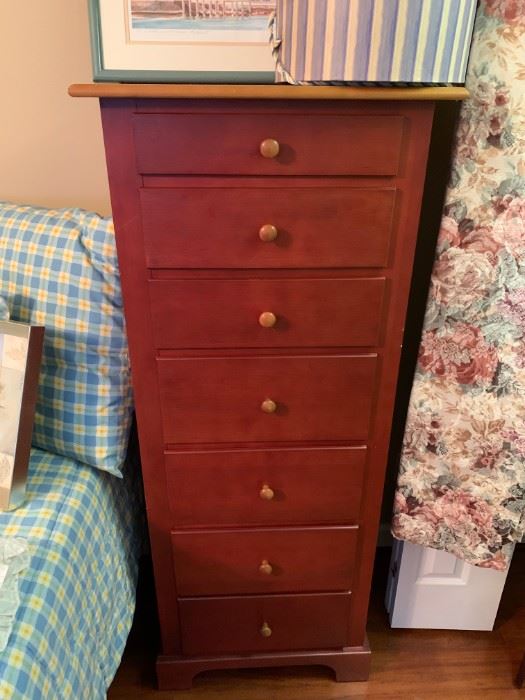
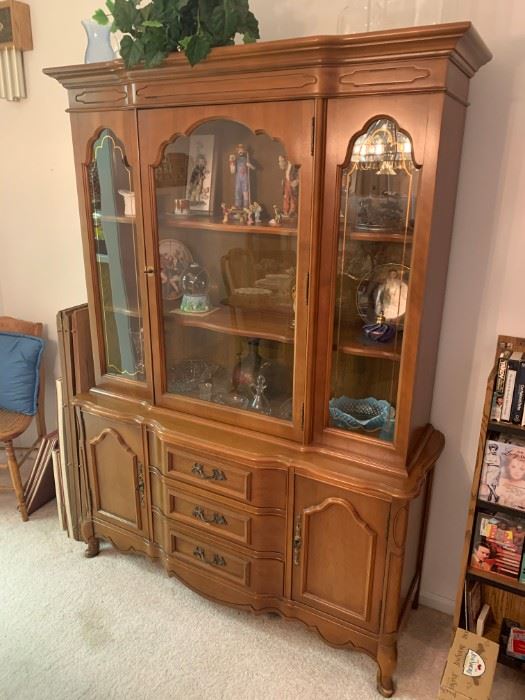
- Find yourself a good piece of furniture. The specific type depends on whether you plan to use it for yourself or to resale as a side hustle. In this example, I am going to assume it’ll be for personal use. In a future blog post I will go into greater detail about how to pick out furniture for resale. Below are some samples of furniture from previous estate sales that could work out well for a restoration project. [Reference video time: 0:10 – 2:00]
- Remove the doors or drawers so that you have easy access to the interior and edges. Typically a Philips screwdriver will do the job. [Reference video time: 2:00 – 2:15]
- Apply the finish stripper to the outside of the item with a paint brush. Often times it can be a challenge to finish the inside and usually not worth it in the end unless you are hoping to demand a high resale price point. [Reference video time: 2:15 – 2:37]
- Scrap off the finish with a scraper and then scrub off the last bits of gunk with a dry piece of steel wool. If you have any residual finish, then I would recommend scrubbing it off with steel wool and aided by mineral spirits. [Reference video time: 2:37 – 3:43]
- Clean the inside. Again, this usually should not take as much time and effort. Typically you can get the job done with normal household cleaner. If a little extra TLC is needed, then I would use mineral spirits and a utility knife blade/ scraper to gently remove the undesirable gunk. [Reference video time: 3:43 – 4:14]
- Smooth the finish with a sander once the wood has dried from step 4. Avoid sanding too much in one spot because it can leave a light spot. Use an orbital sander and scale from 120 grit, 150 grit, 180 grit, and finally with 220 grit sanding discs. [Reference video time: 4:15 – 5:18]
- Wet down the exterior with some naphtha. [Reference video time: 5:19 – 5:30]
- Smooth out any raised grains by hand with some 220 grit sand paper. [Reference video time: 5:31 – 5:45]
- Repair chips or minor broken legs with epoxy wood filler. In order to successfully do this, just knead the 2 parts together and then place by hand over the section that requires repair. Sand lightly once dry and go over it with stain later. [Reference video time: 5:46 – 6:53]
- Apply the Varathane walnut oil stain. It is great to do this on pieces that are being refinished or have some spots from use over the years. This will build a more uniform look. The stain should be applied with a foam brush and then any excess wiped off after letting it sit for a few seconds. [Reference video time: 6:53 – 9:00]
- Gel stain the base if it is a lighter color. This will help build a darker stain, which gives it a darker tone like the rest of the furniture piece. A couple of coats is sometimes necessary for a darker color. [Reference video time: 9:01 – 10:30]
- Once the stain dries, apply the top coat. In this example, we used a satin lacquer. Spray on as many coats as you want… usually spray more coats on the top so it has more protection. Another impact thing to remember is to wear a face mask while using the spray. [Reference video time: 10:31 – 11:00]
- Enjoy your finished project and find it a good home!
Essentials for this Project
Below is a helpful supplies checklist to follow when beginning your next wood furniture refinishing project. You have the option click on the blue text for a link to grab these supplies ahead of time.
- Finish Stripper (Step 3)
- Utility Scraper Set (Steps 4 & 5)
- Steel Wool #000 (Step 4)
- Mineral Spirits (Step 4)
- Household Cleaner (Step 5)
- Orbital Sander & Sanding Discs (Step 6)
- Naphtha (Step 7)
- 220 Grit Sand Paper (Steps 8 & 9)
- Epoxy Wood Filler (Step 9)
- Varathane Oil Stain, Walnut (Step 10)
- Foam Brush and Cloth Rag (Step 10)
- Varathane Gel Stain, Walnut (Step 11)
- Satin Lacquer Top Coat (Step 12)
As an Amazon Associate I earn from qualifying purchases. So essentially it’s like buying me a cup of coffee for offering a restoration step-by-step guide 🙂
